
Strip a 600×337.5 COB cabinet down and you get a die-cast frame, two rows of four light boards, a HUB board, a power supply and a rear cover. Nothing exotic. What changed is how those parts are put together, and each change exists to solve a specific complaint about the previous generation.
1. One board instead of three
The old build had a power supply, a receiving card and a HUB board as three separate parts joined by three looms. The current build integrates all three onto one board inside the cabinet. Fewer connectors means fewer things that work loose on a truck, and it removes about 40% of the internal wiring.
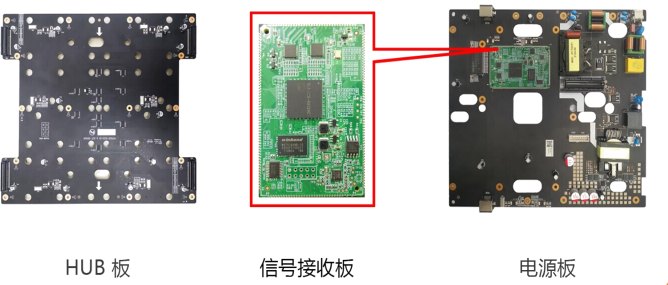
The practical difference shows up on a service call. With three boards, a dead cabinet means opening it and testing each part in turn. With one board the failure is either the board or the modules, and the board comes out with four screws.
2. 0.01 mm between cabinets
Surface step — the height difference where two cabinets meet — is specified at 0.01 mm and checked on a coordinate measuring machine rather than by eye. That is a micron-level tolerance on a die-cast part, and it is the number that decides whether a seam is visible at three metres.
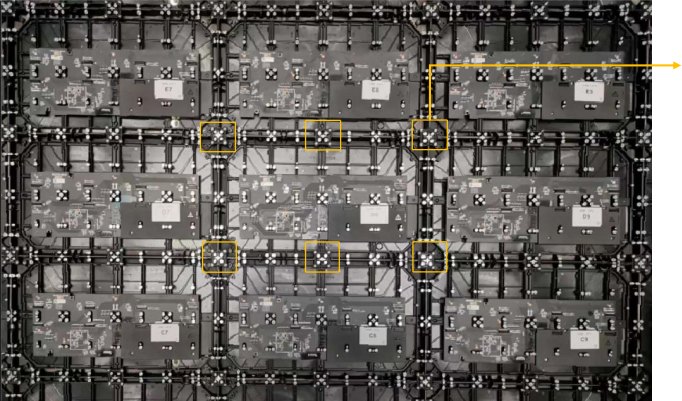
It also makes the cabinet a matched part. Two cabinets from different batches will not necessarily hit 0.01 mm against each other, which is why we ship a wall as one batch, and why adding a second order onto an existing wall is a conversation rather than a purchase order.
3. A rear cover that comes off
The rear cover is a separate die-cast piece rather than part of the frame. That gives three things: a place for a customer logo, an alternative material for buyers who want a cheaper back, and a service route into the cabinet without taking it off the wall.
Integrators ask for the logo, distributors ask for the plastic back, and rental houses want the cover off in ten seconds. Same part, three answers.
4. Cabling defined by screen height
The internal harness is a single branched assembly cut to the height of the screen rather than a set of individual cables. A 3 m wall and a 6 m wall get different harnesses, and the installer plugs in one assembly instead of fishing eight separate leads through a 39.75 mm gap.
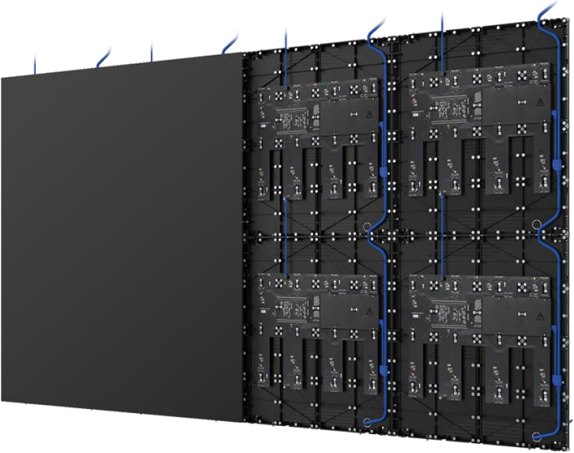
It also costs less than the individual cables it replaces, which is unusual for a change that makes installation easier at the same time.
5. The surface is a laminate, not a coating
This is the one that decides whether a COB wall looks premium or cheap. A nano optical composite film is bonded over the die array. It is what produces the even black, the 4H surface hardness, the IP54 front rating, and the ability to clean the screen with water and a cloth.
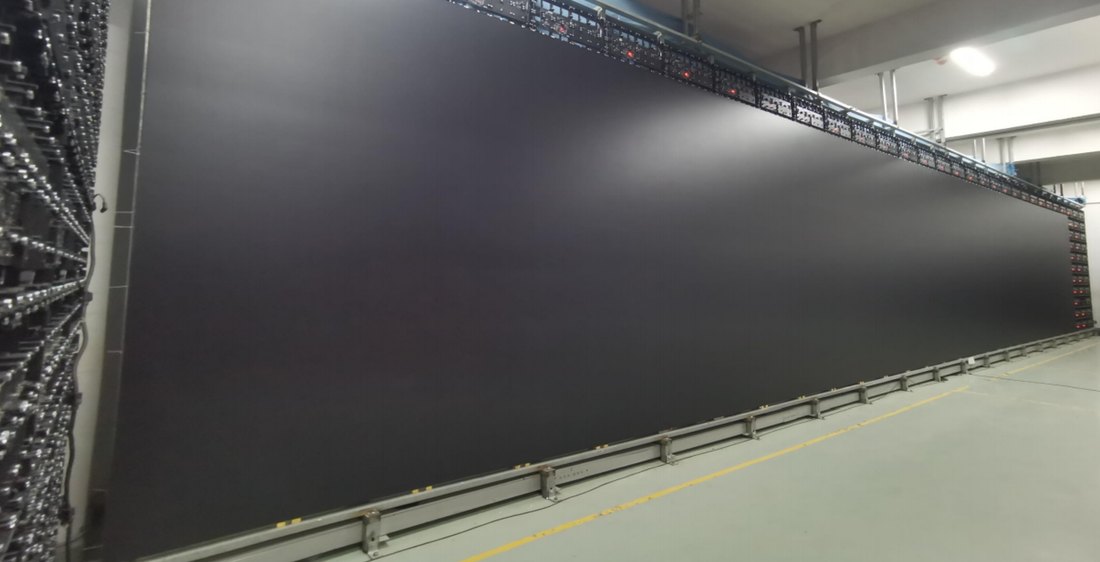
Two properties matter commercially. It is anti-static and anti-oxidation, which separates a wall that still looks the same in year three from one that has gone patchy. And it is applied per batch without selection, which means a replacement module six months later may not match the wall it goes into.
The factory holds a patent on the film. That is worth knowing when a competitor quotes 30% less: the optical stack is where the cost sits, and it is the first thing removed.
6. White balance is a batch decision
Two cabinets from different production runs differ slightly in white point even at the same nominal 9,300 K. The fix is not a better controller, it is building the wall from one batch and calibrating at wall level rather than cabinet level.
Which is why the order of operations matters: fix the pitch and the cabinet count first, then let us pull one batch. Adding two cabinets later works mechanically and looks wrong optically.
What is not different
The control system. COB cabinets run on NovaStar like everything else — MRV433 or NV3210 on the module side, the usual senders and processors upstream. No proprietary protocol, no lock-in. The receiver stores its own calibration on board, which is the only COB-specific detail an installer needs.
That matters more than it sounds. A wall that needs a specialist to service it is a liability. This one needs a technician who can change a module and run the calibration software.